I have been interested in the concept of 3D printing since I heard about it, so last year while on my internship I decided to buy an entry-level 3D printer to try it out. After looking into different brands and models online, I ended up buying the Creality Ender-3 3D printer which had just released based on all the positive reviews I could find about previous Creality models. Also, it didn’t break the bank at under $300 while other popular models range from $500 to over $1000. I should also note that this was an extruder style printer, while there are other types available, such as resin, that print in a completely different manner.
Setup
The setup of the printer was easy. There was some assembly required, but less than an hour worth of work. Then the printer required calibration, which was a bit more difficult and required a bit of trial and error on my part. Unfortunately, I did not take any pictures of the process, so I cannot include those.
Slicing

An example of g-code
Next came printing something that wasn’t the demo model that came preloaded with the printer. This required the use of slicing software. What slicing software does is take a 3d model and translate it to the language that 3D printers understand, g-code, which reminded me of assembly, so it was already off to a good start in impressing me. Essentially the slicing software translates the 3D-model into many points in space, and the g-code is a set of instructions that will allow the printer to create the model using those points.
Printing
Once the instructions are created by the slicing software, the printer can print them. The printer’s extruder, a small nozzle that releases melted filament, moves within the frame of the printer and slowly extrudes melted plastic. This is done from the bottom up, so if what you are printing has pieces that would begin detached from what has been printed from the base, you need some support pillars to create it correctly (these can be seen in the video posted). The printing takes quite some time, and is moderately loud, even though I do find the mechanical movement noise somewhat soothing.
Example Prints
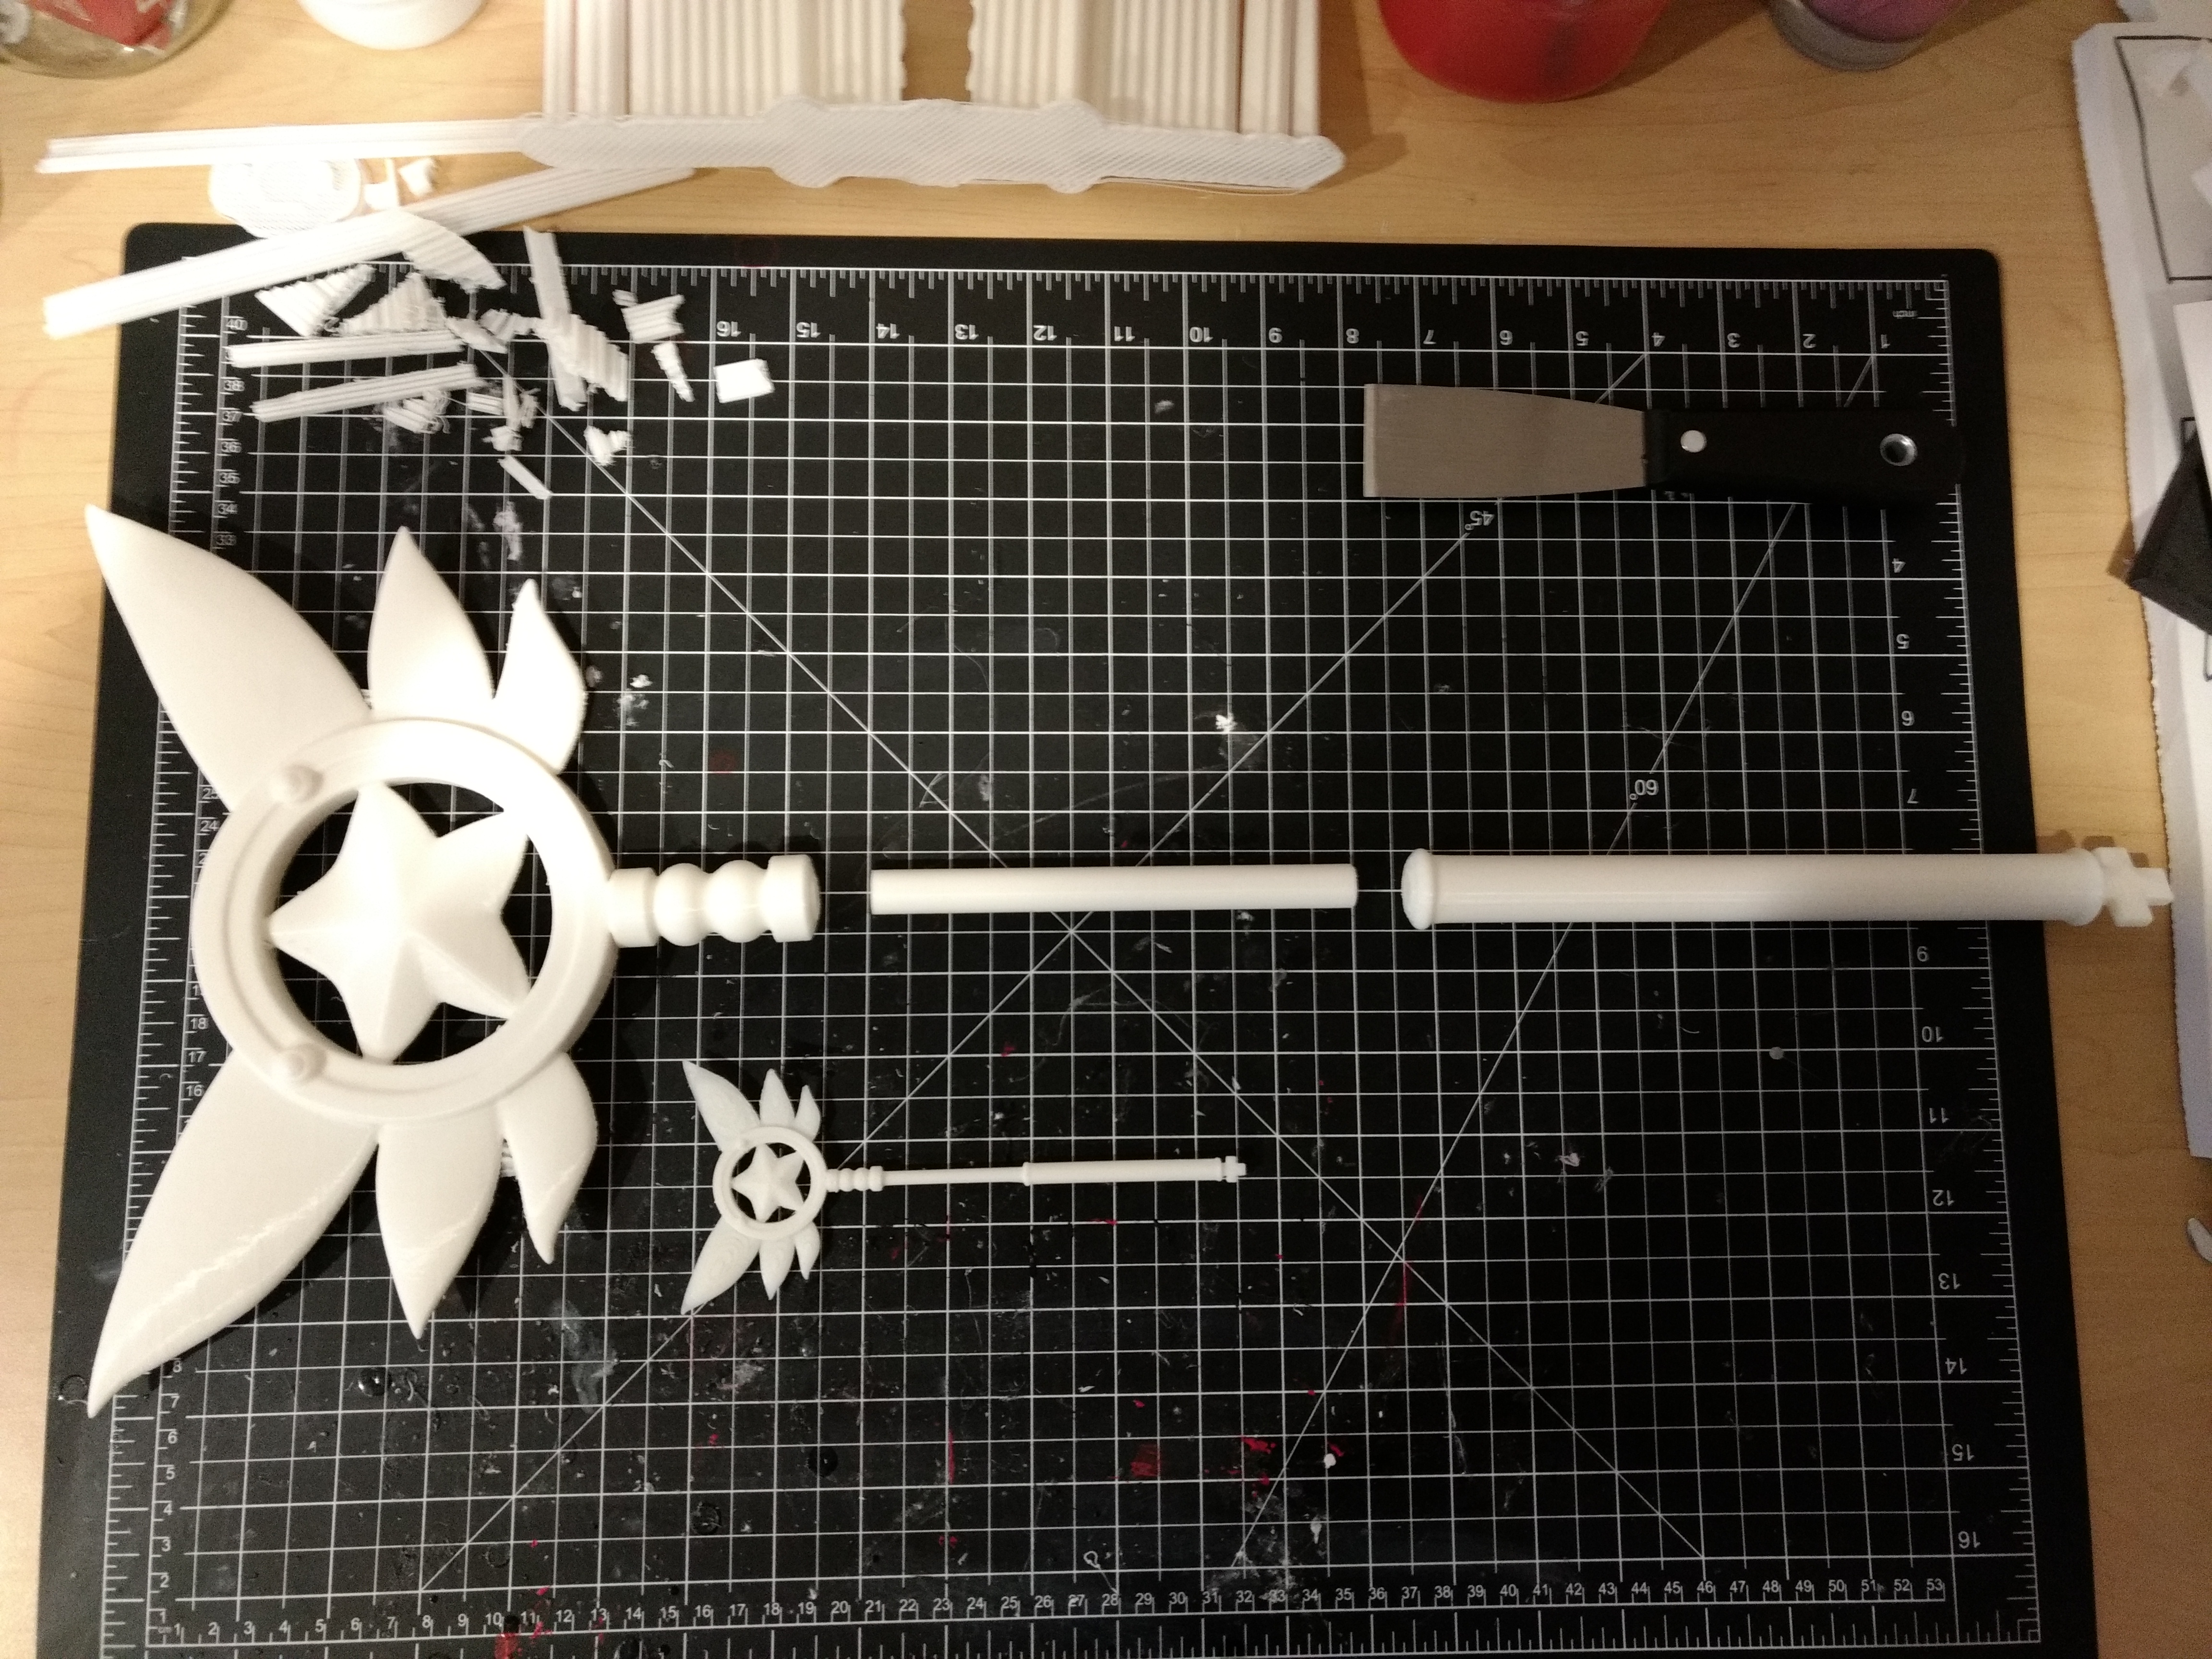
The three pieces before assembly, with a small prototype next to the full scale print.
One of the larger prints I have done was a prop that my girlfriend needed for a cosplay. It needed to be printed in three parts, with the largest taking over 24 hours to print. A short video of the top of the wand being printed can be seen below.
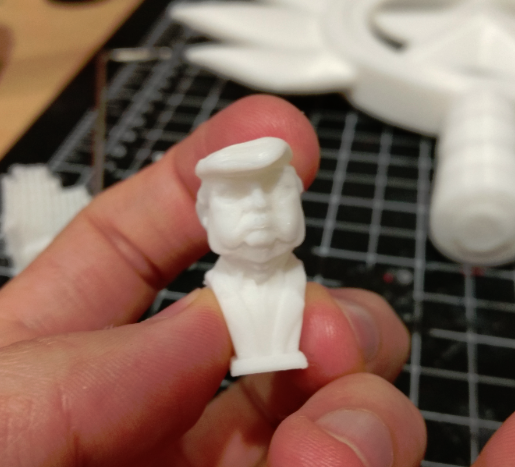
I had a co-worker during my internship who talked about Donald Trump nearly every day, so another print I made was a bust of Donald Trump that I left on his desk on July 4th.

Trump bust before painting.

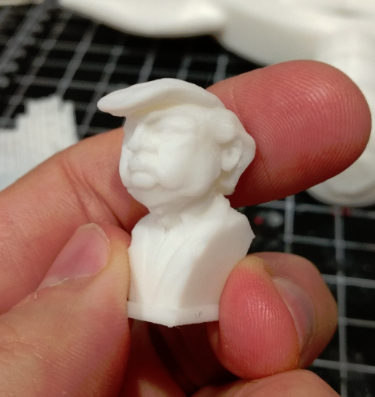
Trump bust after painting.
After printing this and seeing the level of detail I could achieve I decided to print a small one to see how it would turn out, and I was left very impressed.
Small bust from the front.
Small bust from the side.
Bring Your Designs to Life
After printing models that other people created I decided to try creating a few things on my own to see what was possible. One designs I made was something like a nut and bolt, and to my surprise the printed version of it allowed me to screw the pieces together.
A design of something to screw together. The printed version screwed together perfectly.
Anything you design can be printed, and it feels amazing to bring something you have designed to life.
Practical Uses
- Small things for the home (oculus rift sensor mount for example)
- Unique gifts for people
- Props
- Prototyping
- Small models
Positives
- Great to learn about how machine instructions work
- Can be used for prototyping
- Creating real world copies of your designs
Negatives
- Prints take a long time if you want detail
- Can be loud depending on the printer
- Calibration and troubleshooting can be time consuming and difficult
- There is a learning curve: it is not plug and play
- Uses are largely niche
- Prints can fail and waste time and money
Conclusion
If you are looking for a learning experience and have a passion for design and technology, then a 3D-printer may be for you. Be warned though, the practical uses for a commercial printer are limited, and you will need to spend a considerable amount of time tweaking and calibrating things unless you want to spend over $1000. I wouldn’t say these printers are a fad, nor the future. They fill a niche enthusiast market, and that’s where they will stay.
I have not gone into the details of different materials, industry grade printers, the different types of printers, and many other things. I’ve also omitted a lot of technical details. If you would like to hear about any of those topics, or other related ones, leave me a comment below!